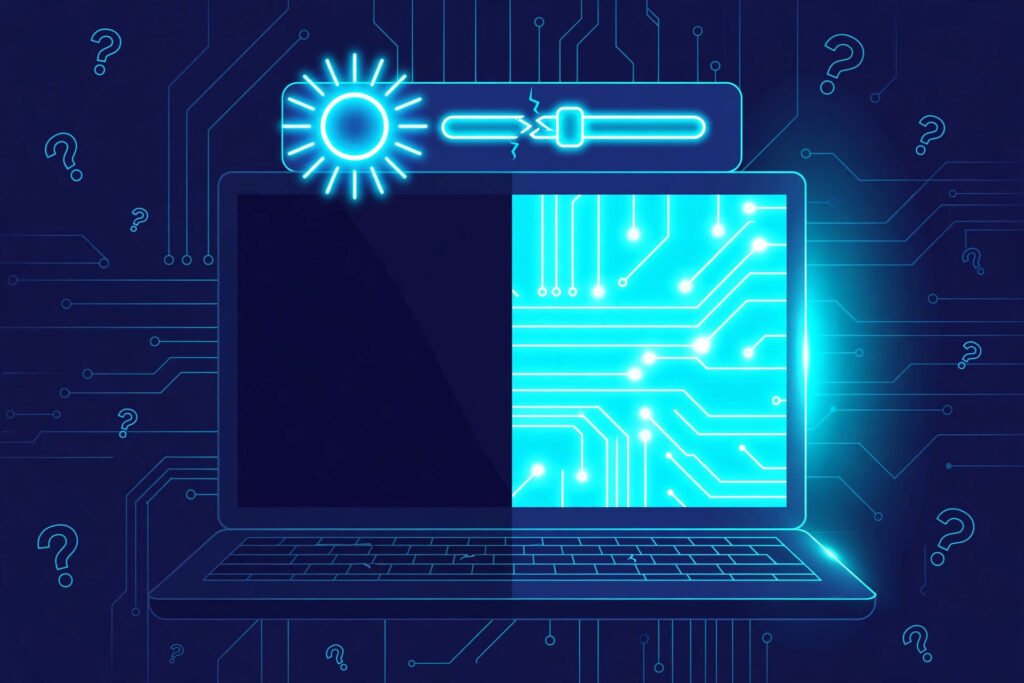
If you’re dealing with windows 11 brightness not working after update, first check the brightness slider in Display settings, turn off automatic brightness adjustments, and inspect your graphics driver. If the slider is missing, greyed out, or moves without changing the screen brightness, the issue may involve the display driver, monitor configuration, or laptop-specific display controls.
The fixes below address brightness keys that stop responding, screens stuck at maximum brightness, and brightness controls that disappear after a Windows update.
Why This Happens
Several display-related changes can affect brightness controls after installing Windows updates.
- Graphics driver changes: Windows may install a different Intel, AMD, or NVIDIA driver that affects brightness adjustment.
- Automatic brightness settings: Ambient-light sensing or content-based brightness controls may override your preferred level.
- Monitor driver problems: A built-in display may be incorrectly identified or have a device-driver problem.
- Laptop hotkey software: Function-key shortcuts may depend on manufacturer-specific utilities.
- External display limitations: Windows does not provide the same native brightness controls for every external monitor.
First, determine whether the brightness slider is missing or whether it moves without affecting the display.
These symptoms may indicate different problems and should not automatically be treated as the same driver failure.
1. Adjust Brightness Through Windows Display Settings
Start by checking whether Windows can control brightness through its normal display interface.
This separates a keyboard shortcut problem from a broader brightness-control issue.
Follow these steps:
- Press Windows + I.
- Open System > Display.
- Find the Brightness control.
- Move the slider toward a lower value.
- Watch whether the physical screen becomes dimmer.
- Move the slider toward a higher value.
- Check whether brightness increases.
- Press Windows + A to open Quick Settings.
- Try the brightness slider there if available.
If the Settings slider works but your keyboard brightness keys do not, focus on the laptop’s hotkey configuration.
If the slider moves but the screen brightness remains unchanged, a graphics or display-control problem may be involved.
Important: Desktop PCs using external monitors often do not show a Windows brightness slider.
Most external monitors require brightness adjustments through their physical controls.
Microsoft documents this distinction in its current Windows display guidance.
2. Disable Automatic and Content-Based Brightness Adjustments
Some laptops automatically adjust brightness based on surrounding light or the content displayed on the screen.
After an update, these settings may behave differently or become noticeable when switching between battery and AC power.
Follow these steps:
- Open Settings > System > Display.
- Expand Brightness if the section provides additional options.
- Look for Change brightness automatically when lighting changes.
- Disable it temporarily if available.
- Find Change brightness based on content, if supported.
- Select Off or disable the corresponding feature.
- Set the brightness manually.
- Open both a dark webpage and a white document.
- Check whether brightness stays at the selected level.
These options are hardware-dependent and may not appear on every computer.
A particularly useful clue is whether the screen becomes brighter when showing white content and darker when showing black content.
That behavior may indicate content-adaptive brightness control rather than a broken brightness slider.
If brightness changes only when the room lighting changes, an ambient-light sensor setting may be involved.
Microsoft confirms that Windows 11 supports these automatic adjustments on compatible displays.
3. Roll Back the Graphics Driver Installed After the Update
If brightness stopped working immediately after an update, the graphics driver is worth checking.
Windows Update can deliver driver packages alongside other system updates.
If a newer driver caused a compatibility problem, returning to the previous version may restore brightness control.
Follow these steps:
- Right-click Start.
- Select Device Manager.
- Expand Display adapters.
- Locate your Intel, AMD, or NVIDIA graphics adapter.
- Right-click it and select Properties.
- Open the Driver tab.
- Select Roll Back Driver if available.
- Choose the appropriate reason if Windows asks.
- Complete the rollback.
- Restart your computer and test brightness.
Do not assume the newest driver is necessarily the cause.
Check whether the driver installation date corresponds to when the brightness problem began.
If Roll Back Driver is greyed out, Windows may not have a previous driver version available.
On laptops with integrated and dedicated graphics, the built-in display may be controlled primarily by the integrated GPU.
For example, an Intel integrated graphics driver could affect laptop brightness even if an NVIDIA graphics card is also installed.
4. Install the Correct Graphics Driver from Your Laptop Manufacturer
If rolling back is unavailable or unsuccessful, check for a compatible display driver from the laptop manufacturer.
Laptop manufacturers sometimes provide graphics drivers tailored to their display hardware, firmware, and power-management features.
Follow these steps:
- Press Windows + R.
- Type msinfo32 and press Enter.
- Find System Manufacturer and System Model.
- Record the exact model.
- Visit the official support website for your laptop.
- Select your model and Windows 11 operating system.
- Find the graphics or display driver downloads.
- Download the appropriate driver.
- Follow the manufacturer’s installation instructions.
- Restart and test the brightness slider.
For example, HP, Dell, Lenovo, ASUS, and Acer provide model-specific driver downloads.
Avoid installing drivers intended for a similar-looking laptop with different hardware.
If the manufacturer does not provide a suitable driver, check the official Intel, AMD, or NVIDIA support website.
Generic graphics drivers may offer different compatibility characteristics from manufacturer-customized packages.
Also inspect Settings > Windows Update > Advanced options > Optional updates for relevant driver updates when that section is available.
Install only updates that match your hardware and troubleshooting needs.
5. Check the Generic PnP Monitor in Device Manager
Windows communicates with displays through graphics hardware and monitor-related device information.
If a built-in display is disabled or experiencing a device problem, some display controls may become unavailable.
Follow these steps:
- Right-click Start.
- Open Device Manager.
- Expand Monitors.
- Locate Generic PnP Monitor or another monitor entry.
- Check for a warning icon.
- Right-click the entry and select Properties.
- Review Device status under the General tab.
- If the monitor is disabled, select Enable device if offered.
- If Windows reports a device error, record its code.
- Use Action > Scan for hardware changes after addressing the error.
Do not assume every monitor must be named Generic PnP Monitor.
Some manufacturers provide different display names.
If a monitor entry is healthy and enabled, repeatedly uninstalling it is unlikely to help.
If the built-in panel disappears from Device Manager, investigate the graphics driver and hardware detection before modifying other display components.
For external monitors, Windows may recognize the display correctly while still lacking a native brightness slider. That is an important distinction between display detection and brightness-control support. If your external display isn’t detected at all, see our guide to fixing a second monitor not detected in Windows 11.
6. Restore Laptop Brightness Function-Key Controls
If the Windows brightness slider works but the keyboard buttons do not, investigate the laptop’s function-key configuration.
Brightness shortcuts frequently use keys marked with sun-shaped icons.
Depending on the laptop, you may need to hold the Fn key while pressing the relevant function key.
Follow these steps:
- Locate the brightness-down and brightness-up icons on your keyboard.
- Press the brightness-up key once.
- If nothing happens, hold Fn and press the same key.
- Try the brightness-down shortcut.
- Check whether the Windows brightness slider changes.
- If neither combination works, identify your laptop model.
- Visit the manufacturer’s official support page.
- Look for its hotkey, keyboard function, or system-control software.
- Install the applicable package following the manufacturer’s instructions.
- Restart and test the shortcuts again.
Depending on the manufacturer, the required components may be associated with ASUS System Control Interface, Lenovo Hotkeys, or HP system event software.
The exact package depends on the laptop model.
Also check whether your keyboard has an Fn Lock feature.
If several function-key shortcuts stopped working after the update, a manufacturer hotkey component may deserve attention before changing the graphics driver.
7. Check HDR and Power-Related Display Behavior
Brightness and perceived image brightness are not always the same thing.
HDR, power settings, and adaptive display features can make a screen appear brighter or darker even when its backlight control is functioning.
Follow these steps:
- Open Settings > System > Display.
- Select the affected display if more than one is connected.
- Open HDR if the option is available.
- Temporarily turn off Use HDR for a comparison.
- Return to the main Display settings.
- Adjust the brightness slider.
- Disconnect the laptop charger if it is safe to do so.
- Compare brightness behavior on battery and AC power.
- Review power settings under Settings > System > Power & battery, or the equivalent power section on your build.
If the slider works but HDR videos or SDR applications appear unusually dim, the problem may involve HDR presentation rather than ordinary backlight adjustment.
Some HDR-capable systems expose an SDR content brightness adjustment within HDR settings.
Do not change unrelated color profiles or install third-party brightness utilities before identifying the affected setting.
Microsoft documents HDR-specific brightness behavior separately from standard Windows brightness control.
8. Review Recent Updates and Test Display Behavior Before Windows Loads
If none of the previous steps work, determine whether the problem is limited to Windows.
A useful diagnostic method is to compare brightness behavior inside Windows with the laptop manufacturer’s firmware interface.
Follow these steps:
- Save your work.
- Restart your laptop.
- Use the manufacturer’s documented key to enter BIOS or UEFI setup.
- If supported, try the laptop’s brightness keys.
- Observe whether the built-in display changes brightness.
- Exit firmware setup without saving changes.
- Start Windows normally.
- Open Settings > Windows Update > Update history.
- Identify updates installed before the issue began.
- Check the manufacturer’s support information and Microsoft release notes for relevant issues.
Not every laptop supports brightness-key adjustment inside firmware setup.
If it works outside Windows but fails within Windows, that suggests investigating drivers and software configuration.
If it fails in both environments, the result is less conclusive because firmware environments may not support those controls.
Where a specific problematic quality update has been identified, Windows Update > Update history > Uninstall updates may offer a removal option.
Use this only after considering security implications and checking for a corrective update.
Troubleshooting Notes
Windows 11 versions 23H2, 24H2, 25H2, and newer builds generally provide built-in brightness controls under Settings > System > Display. The available controls depend heavily on display hardware.
- Slider missing on a desktop: This may be normal when using an external monitor.
- Slider moves but brightness stays unchanged: Check the graphics driver and supported automatic brightness features.
- Keyboard buttons fail but slider works: Focus on hotkey software and Fn-key settings.
- Only HDR content looks wrong: Check HDR-specific brightness controls rather than immediately reinstalling drivers.
- Brightness changes when plugging in the charger: Review automatic brightness and power-related display behavior.
An important diagnostic clue is that brightness keyboard shortcuts, Windows brightness controls, and external monitor brightness controls are not interchangeable. Each may use a different control mechanism.
Windows 11 Brightness Not Working After Update FAQs
Why is my Windows 11 brightness slider missing?
The computer may be using an external monitor, or the graphics driver may not be exposing brightness controls correctly. Check your display type and graphics adapter in Device Manager.
Why does my brightness slider move but nothing happens?
A graphics-driver problem, automatic brightness behavior, or unsupported display control may be involved. Test the slider with automatic adjustment features disabled.
How do I fix brightness keys after updating Windows 11?
Verify that Windows brightness adjustment works through Settings. Then check the Fn-key combination and install the appropriate manufacturer hotkey software if necessary.
Can a Windows update cause a laptop to get stuck at maximum brightness?
A driver or configuration change associated with an update may interfere with brightness control. Checking the installed graphics driver and available rollback options is a reasonable starting point.
Final takeaway: Identify whether the problem affects the Windows slider, keyboard shortcuts, or actual screen brightness. Then check automatic brightness settings and the graphics driver before considering update removal or hardware service.